


Cloud Manager Security Controls
Traducciones al EspañolEstamos traduciendo nuestros guías y tutoriales al Español. Es posible que usted esté viendo una traducción generada automáticamente. Estamos trabajando con traductores profesionales para verificar las traducciones de nuestro sitio web. Este proyecto es un trabajo en curso.
The Cloud Manager is the gateway to all of your Linode products and services, and you should take steps to protect it from unauthorized access. This guide documents several of the Linode Cloud Manager’s features that can help mitigate your risk. Whether you’re worried about malicious users gaining access to your username and password, or authorized users abusing their access privileges, the Cloud Manager’s built-in security tools can help.
Start by enabling two-factor authentication to protect your account with a physical token, and then configure security event notifications for your Linode account. In this guide you also learn how to control API access, configure user accounts, and force password expirations.
Two-Factor Authentication
Two-factor authentication increases the security of your Linode account by requiring two forms of authentication: something you have and something you know. You’re already familiar with this concept if you’ve ever used a debit card at an ATM. The debit card is something you have, and the PIN access code is something you know. You need both the debit card and the PIN to access your bank account.
If you enable this optional feature in the Linode Cloud Manager, you access your Linode account using your smartphone as a physical token in addition to your username and password. This additional layer of security reduces the risk that an unauthorized individual can gain access to your Linode account.
Select a Token Application
Before you enable two-factor authentication in the Cloud Manager, select a token application for your smartphone. This guide uses Authy as an example, but you can use any application that supports the Time-based One-Time Password (TOTP) algorithm. For example, you can use any of the following applications:
- Authy (iOS/Android/Chrome)
- Google Authenticator (iOS/Android/BlackBerry)
- Duo Mobile (iOS/Android)
Install one of these applications on your smartphone before continuing.
NoteAuthy stores your authentication tokens (hashed for security) on their servers. This makes it possible for them to support backing up and restoring tokens, as well as making it easy to switch devices. However, some users may not be comfortable storing sensitive information in the cloud; for these users, Google Authenticator is a better choice, as the authentication keys are only stored locally.
Enable Two-Factor Authentication
Enable two-factor authentication to start using it with your Linode account.
Log in to the Cloud Manager.
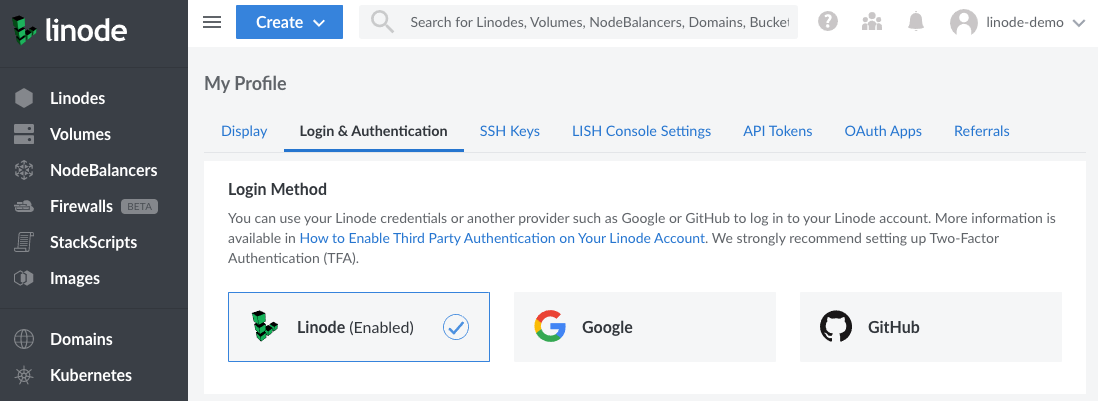
Navigate to the Login & Authentication page of your profile by clicking on your username in the top right of the screen. Select Login & Authentication from the dropdown menu.


Within the Login Method section, select Linode. If you’d rather configure a Third-Party Authentication (TPA) providers, such as Google and GitHub, see Enabling Third Party Authentication on Your Linode Account. Only one login provider can be active at a time. Once selected, you will be asked to confirm that you’d like to enable TPA with this provider.


Under Linode Authentication, enable Two-Factor Authentication (TFA).


A new form appears, displaying the QR code, secret key, and a section to enter a token.
Open your preferred TFA provider on your smartphone or desktop. You can use Authy, Microsoft Authenticator, Google Authenticator, or even the built-in TFA functionality on password management tools like 1Password.
Scan the QR code into the app or enter the secret key. This process will vary depending on your provider. Within Authy, tap Add Account and then tap SCAN QR CODE. Point your device’s camera at the barcode on your computer screen. The app automatically creates a new token for your Cloud Manager login. It is labeled LinodeManager:user. Change the account name if necessary, and press Done.
In the Token field of the Two-Factor Authentication form, enter the token provided by the TFA app and click Confirm Token.


That’s it! You’ve successfully enabled two-factor authentication.
Log in with Two-Factor Authentication
Now that you have set up two-factor authentication for your account, you need to have your token available whenever you log in to your account. Here’s how to log in to the Linode Cloud Manager with two-factor authentication enabled:
Open the Linode Cloud Manager in your web browser.
On your smartphone, open Authy, and then select your LinodeManager:user account.
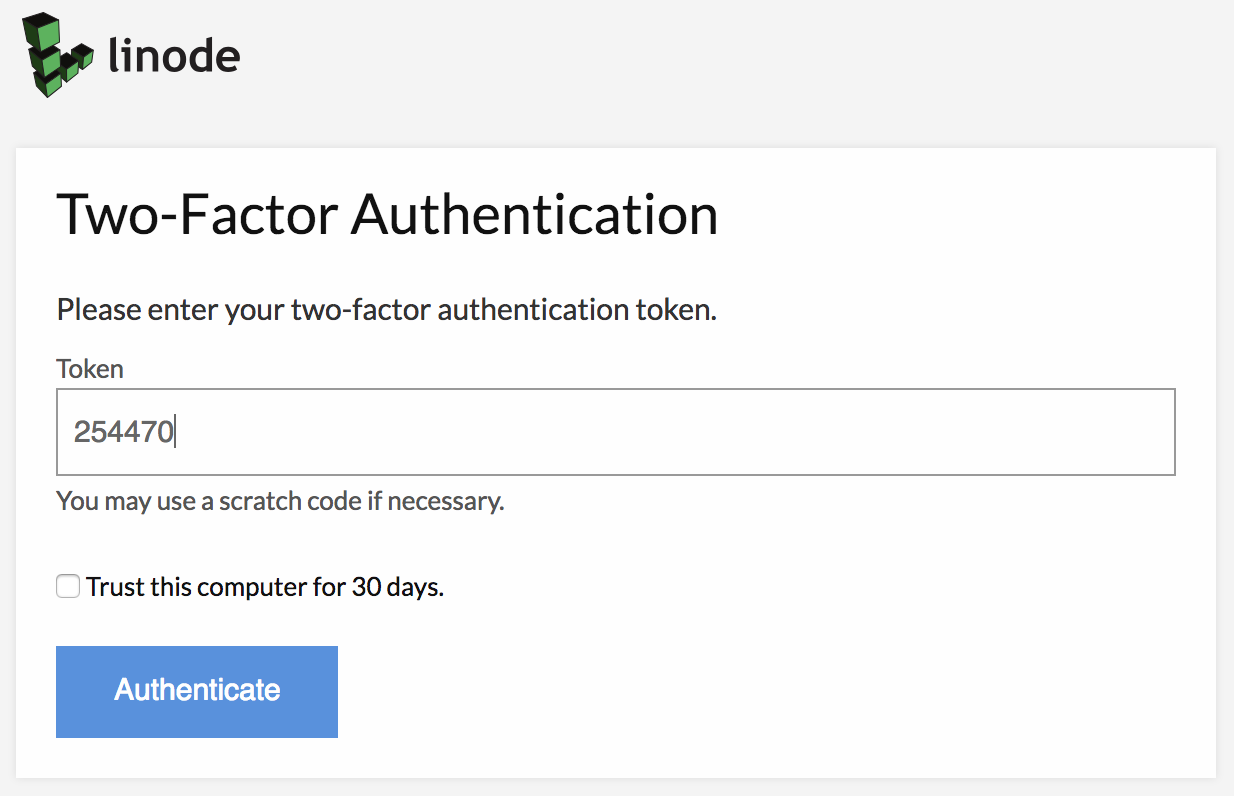
In your web browser, enter your username and password and click Log in. The webpage shown below appears.


Enter your token, and then click Authenticate. Checking the box below the authentication option adds your computer to the trusted computer list for 30 days, and generates a confirmation email to the address on file for your account.
You have successfully logged in to the Linode Cloud Manager using two-factor authentication.
Generate a New Key
The Linode Cloud Manager allows you to generate a new secret key for your two-factor authentication token device. This is a good way to start using a new smartphone as your two-factor token device. Here’s how to generate a new secret key:
Log in to the Cloud Manager.
Navigate to the Login & Authentication page of your profile by clicking on your username in the top right of the screen. Select Login & Authentication from the dropdown menu.
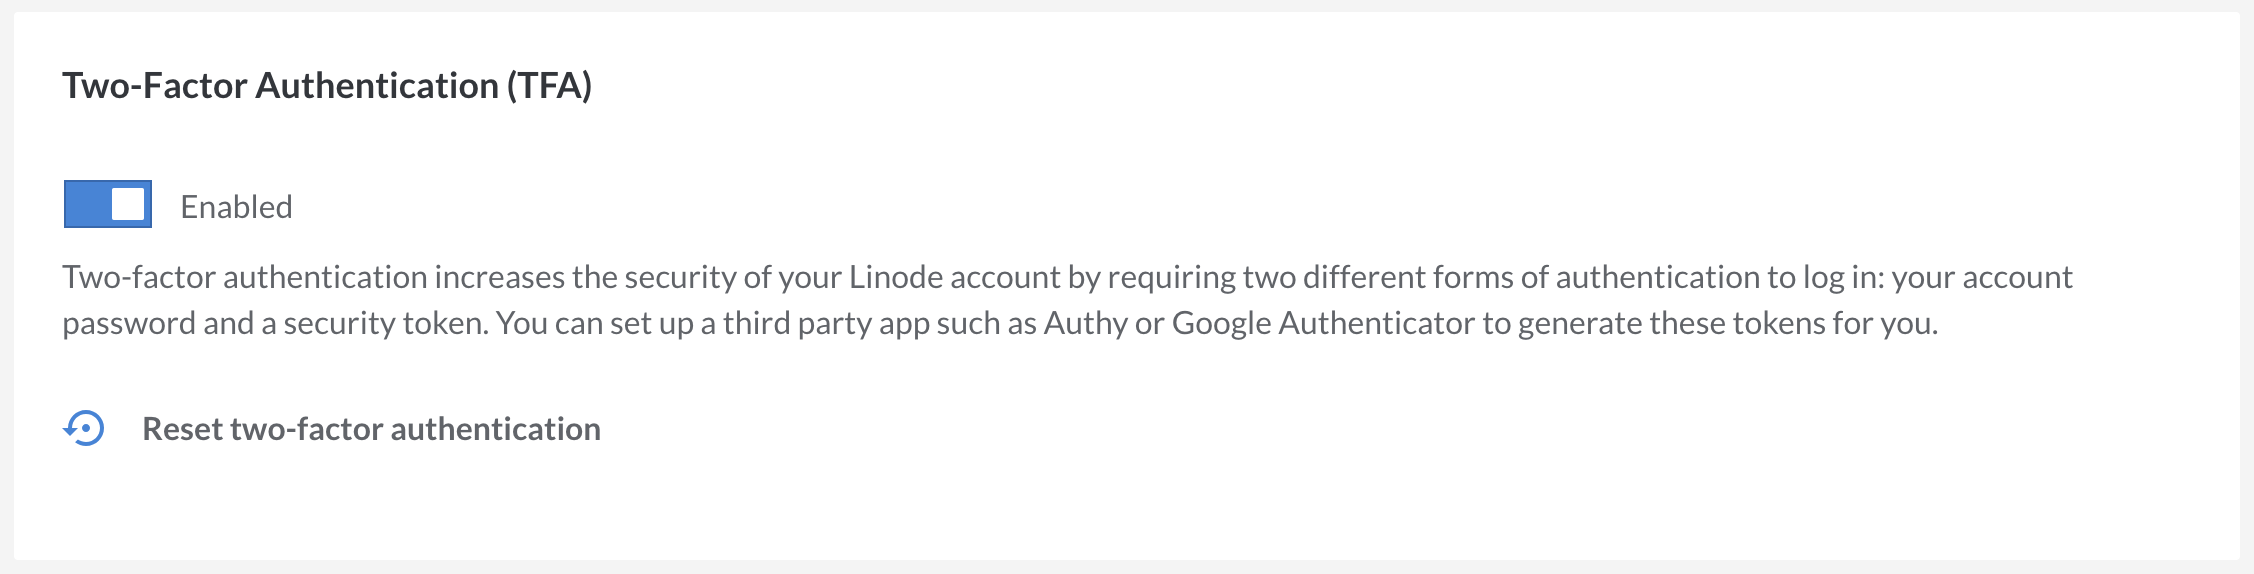
In the Two-Factor Authentication (TFA) section, click Reset two-factor authentication, as shown below.


A new secret key and barcode is generated for your account and displayed on the screen. Follow the instructions in the Enabling Two-Factor Authentication section to add the new key to your smartphone.
Disable Two-Factor Authentication
You can disable two-factor authentication for your Linode account at any time. Here’s how:
Log in to the Cloud Manager.
Navigate to the Login & Authentication page of your profile by clicking on your username in the top right of the screen. Select Login & Authentication from the dropdown menu.
In the Two-Factor Authentication (TFA) section, toggle the Enabled switch to disable two-factor Authentication.
A confirmation window appears asking if you want to disable two-factor authentication. Click Disable Two-Factor Authentication.
You have successfully disabled the two-factor authentication feature for your Linode Cloud Manager account.
Recovery Procedure
If you lose your token and get locked out of the Manager, or need to have 2FA removed from a Linode account for another reason, please submit the following images to Linode Support:
- An image of the front and back of the payment card on file, which clearly shows the last 6 digits of the card number, the expiration date, cardholder name, and bank logos.
- An image of the front and back of Government-issued photo ID that matches the name on the card.
These images should be emailed to Linode Support at support@linode.com.
If you prefer encrypted communication:
First email Support that you would like to use the Credential Submission Portal. This opens a support ticket and gives you a ticket number to reference.
You can then upload your images to our Credential Submission Portal referencing the ticket number.
Manage Trusted Devices
Whenever you log into the Cloud Manager from a new device or computer, you can choose to Trust this computer for 30 days. This means your device is not prompted for a username or password for the next 30 days. The Cloud Manager displays a list of all trusted devices for your account and gives you the ability to untrust any device on the list. Your account’s associated email address is notified whenever a new device is trusted. To view and manage your account’s trusted devices:
Log in to the Cloud Manager.
Navigate to the Login & Authentication page of your profile by clicking on your username in the top right of the screen. Select Login & Authentication from the dropdown menu.
Scroll down to the Trusted Devices section.


You can view all your account’s trusted devices and revoke any device, as needed. If any device that is untrusted, you are prompted to re-enter the username and password when attempting to log into your Cloud Manager account.

API Access
The Linode API v4 is a programmatic interface for many of the features available in the Cloud Manager. It’s an indispensable tool for developers, but it’s also a potential attack vector. For this reason, the Linode Cloud Manager provides two security controls for your account’s API token. First, you can generate a new API token if you suspect that your existing token has been compromised. And if you’re not using the API token, you can remove access to it altogether.
See the Getting Started with the Linode API guide for details on generating and removing API tokens.
Next Steps
If you’ve completed this guide, you’ve proactively taken steps to protect your Linode account. There are a couple of other steps that some users should take to secure their Linode accounts. Take some time and work through the following action items outlined in our other guides.
Configure User Accounts
Organizations that have multiple individuals accessing the same Cloud Manager account should create separate user accounts for each individual. Once you’ve created the accounts, you can assign permissions to restrict access to certain areas of the control panel. This is useful for groups that need to grant all team members access to the Cloud Manager, or organizations that just want their billing department to have a separate account to receive invoices and billing information. For more information, see our guide on Accounts and Passwords.
This page was originally published on